All Puzzle Solutions
Last verified: August 27, 2026 · Launch day
Resonance: A Plague Tale Legacy is built around light. The stolen Minoan sphere lets Sophia manipulate light — refracting it through mirrors, aligning coloured beams with gem sockets, and revealing hidden symbols. This guide lists every puzzle in the game chronologically by chapter, with the exact solutions.
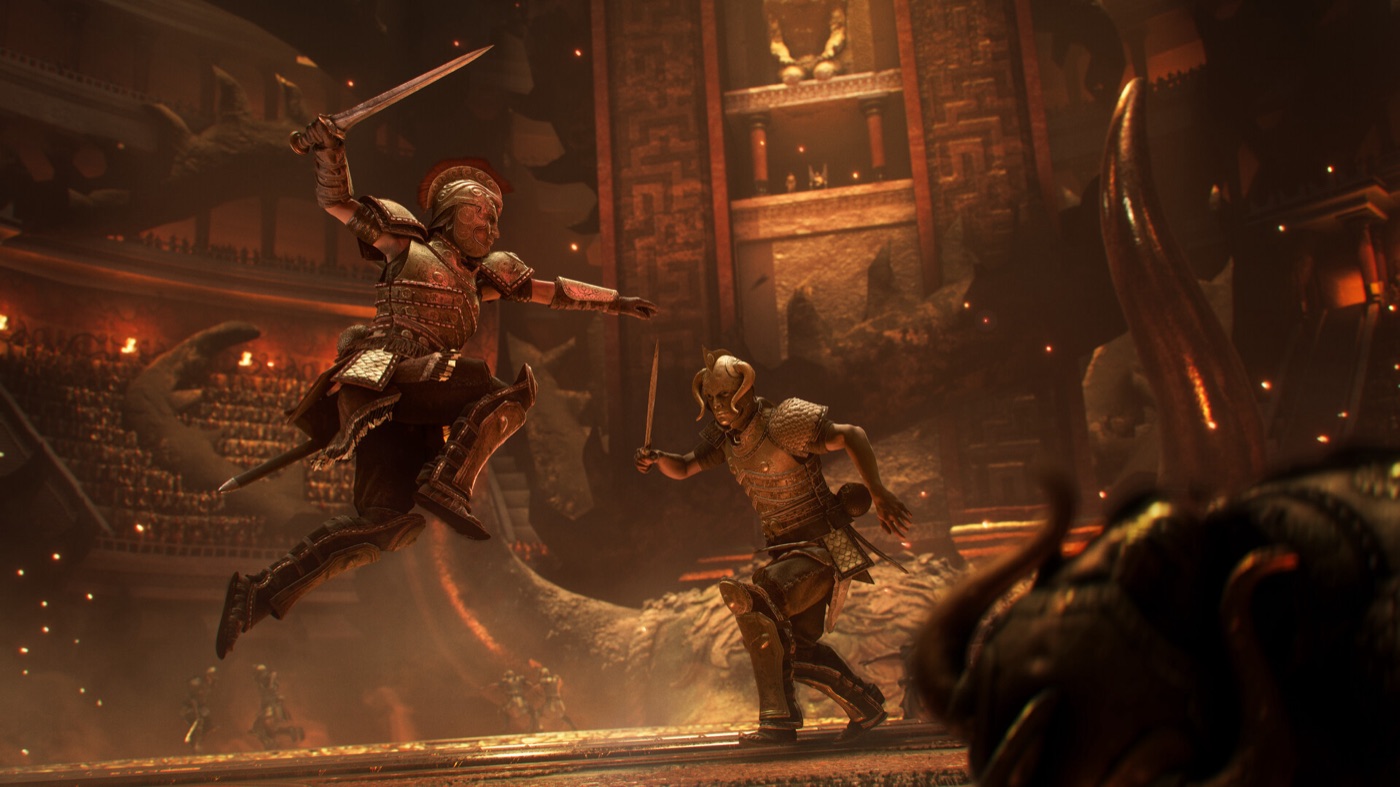
The Minoan sphere manipulates light — the key to most puzzles on the island.
How Puzzles Work
Most puzzles follow one of a few patterns:
- Pedestal symbols — shine light at pedestals to reveal blue floor lines that connect to symbols on walls; rotate pedestals to match.
- Light reflectors — bounce a beam from reflector to reflector until it hits a door symbol or gem.
- Coloured light alignment — stand on a lit floor plate, then rotate the sphere's three coloured beams to align with coloured gems on doors, statues or pillars.
- Mirror rooms — aim fixed mirrors to bounce light onto coloured dots on a central pillar or target.
If you ever get stuck, shine the sphere at walls and floors — the game almost always hints the solution with glowing lines and highlighted icons.
Chapter IV — From Hell It Rose
Sub-Chapter 1 — The 3 Pedestal Symbols
Shine the light sphere at the pedestals to reveal blue lines on the floor. Follow them to see the symbols on the walls connected to each pedestal, then rotate the 3 pedestals to show the matching symbol.
Solution (left to right): Y-C-↑.
Sub-Chapter 2 — Light Reflector Puzzle
Stand on the floor plate at the start of the room to make the light appear, then bounce the beam from one reflector to the next until it hits the symbol on the door.
Path: left reflector → right reflector → front left reflector → front right reflector → door symbol.
Sub-Chapter 2 — Maze Puzzle
Shine the light at the floor and follow the blue lines from the pedestals to the symbols connected to them.
Left = "O" / Right = "I".
Sub-Chapter 3 — Spike Trap Puzzle
In the corridor with spike traps in the floor, shine the sphere to reveal wall symbols that indicate what's safe to interact with.
Platform 1: Left – Left – Left. Platform 2: Right – Middle (jump to it) – Middle. Spike Wall: interact with the front left wall slot. In the next big room, boost Leni up the left side — she shines a reflector at you, and the blue line on the ground shows the safe path. Walls block the light along the way, so memorize the path before you move.
Sub-Chapter 5 — Bull Mirror Puzzle
Look at the ground between the mirrors: white symbols on red backgrounds, some with a blue outline that links pairs. Each wall has a copy of the ground symbols. Shine the mirrors at both blue-linked icons on the walls simultaneously — two pairs total, done separately.
Pair 1 ("Bell" & "T" icons): shine the right mirror at the front left wall (1st icon from left) and the left mirror at the back right wall (3rd icon from left).
Pair 2 ("Inverse S" & "Triangle" icons): shine the left mirror at the front right wall (3rd icon from left) and the right mirror at the front left wall (4th icon from left).
The bull lowers its hands — use the sphere on the rings to reveal 2 new symbols ("h" & "w"). Shine the left mirror at the front right wall (4th icon from left) and the middle mirror at the front right wall (1st icon from left), then use the pedestal that appears.
Chapter V — Desolation It Wrought
Sub-Chapter 1 — Door Puzzle
Interact with the pedestal in the middle of the room, then stand on the right floor pad. Shine the sphere and rotate the coloured lights until they align with the gems on the door.
Sub-Chapter 3 — Floor Symbols Puzzle
On the floor in front of the middle platform are 5 symbols showing the safe jump order: Dots – Kraken – Dots – Flower – Kraken. There are 4 columns of platforms (1 = leftmost, 4 = rightmost) — jumping on a wrong one kills you.
Recommended path (with collectibles): Dots (2) – Kraken (3) – Dots (3) – Flower (2) – Kraken (2) – Dots (2) – Kraken (1, jump left). Climb the rocks on the left and shimmy over the gap to find a hidden relic, then continue: Dots (1) – Flower (2) – Kraken (3) – Dots (3) – Kraken (3, jump backwards) – Dots (3, jump forward) – Flower (3, jump right).
Short path (skips collectibles): Dots (2) – Kraken (3) – Dots (3) – Flower (2) – Kraken (2) – Dots (2) – Kraken (3, jump right) – Dots (2, jump back) – Flower (2, jump forward) – Kraken (3, run-jump diagonally) – Dots (3, jump forward).
Sub-Chapter 3 — Pillar Puzzle (Optional, Secret Blade)
From the room with the 4 sockets, facing the big green bull door, take the front right path (marked with an "O" with 3 lines above it between statues). Cross the bridge, go left and drop down to the enemies. After defeating them, don't go upstairs to the bull door — head the opposite direction to an abandoned camp with a big bull pillar. Climb the rocks on the left to reach the top of the ruins.
Stand on the floor plate at the end of the left pillar, then switch the sphere to its 3-light mode and align the coloured lights with the gems on the bull pillar. The axe symbol on the floor opens a staircase into a crypt — open the big chest inside for the secret blade.
Sub-Chapter 3 — Statue Door Puzzles (×3)
Three statue door puzzles in a row. Each time: stand on the lit floor plate, then align the 3 coloured sphere lights with the gems around the door.
1st door: Red = left statue helmet / Green = middle / Blue = right statue hand.
2nd door: Green = top / Blue = bottom / Red = right statue eye.
3rd door: shine the mirror at the front right dust to reveal a cogwheel; use it and let Leni hold it, jump over the raised platform, then align the sphere lights with the right wall. Run-jump over the spikes, stand in the light and align with the opposite wall. After Leni shines her mirror, follow the blue line through the spikes, then align the 3 lights at the door: Green = rightmost below door / Red = rightmost below door / Blue = rightmost below door.
Sub-Chapter 3 — Mirror Room Puzzle
Align the 3 coloured mirrors so light hits the coloured dots on the central pillar.
Red: 1) shine at the rightmost mirror, 2) shine at the right side of the pillar.
Blue: 1) shine at the left mirror, 2) shine at the mirror in the back on the lower level, 3) shine at the mirror between the last two, 4) shine at the left side of the pillar.
Green: 1) shine at the back right mirror, 2) shine at the back of the pillar.
After the pillar lowers, interact with the pedestal, then leave through the big bull gate.
Pedestal Room — 3 Socket Symbols
Insert the symbols into the sockets matching the icon above each path:
"Inverted P" in front of the Dice Icon path · "h" in front of the "O with 3 lines" icon path · "O" in front of the '"O" Over a Line' icon path.
Chapter VI — What Lies Beneath
Sub-Chapter 5 — Bull Pillar Puzzle (Optional)
After the sub-chapter starts, use Daedalus' key to go through a gate; in the next corridor take the left tunnel to reach this optional puzzle. Jump on the first lit platform on the left and align the lights: Green = below the bull pillar / Blue = below the pillar you stand on / Red = the pillar in the back right (the light reflects back to a mirror). This opens the tomb — go in and open the chest.
Chapter VII — Death It Sowed
Sub-Chapter 1 — Lever Puzzle
Use the two levers to make the light shine in a straight line; the second mirror reflects it downward onto a green floor plate. Stand on the plate and use the sphere to align the 3 lights.
Sub-Chapter 3 — Black Temple Door Puzzle
Shine the sphere at the door to reveal green dots showing the press order for the skulls.
Order: Rightmost Skull, 2nd from Right, Leftmost, 2nd from Left.
Sub-Chapter 3 — Black Temple Light Puzzle
Defeat the first group of enemies, stand in the light and shine the sphere at the wall to reveal a blue icon on a skull — press it to move the light. More enemies spawn; defeat them, stand in the light on the left and press the blue-highlighted skull. Interact with the pedestal in front of the door, then interact again and move the mirror to the middle position. Stand on the floor plate and align the lights: Green = middle mirror / Red = left mirror / Blue = right mirror. The mirrors reflect onto the gems and platforms appear leading down.
Chapter X — Parallel Paths
Sub-Chapter 2 — Bull Pillar Puzzle
Destroy the vases in the area to reveal a blue gem underneath, then use the pedestal in front of the bull statue to turn on the lights. Get on the light platform in the right corner and align: Red = Left / Green = Middle / Blue = Right (hidden below the vase). This opens the crypt in front of the pedestal — drop down and open the chest.
Sub-Chapter 2 — Mirror Light Puzzle
In the big area with several mirrors and a round gate with 3 pedestals: enter the waterfall cave and interact with the mirror's wheel, turning it clockwise until the light turns on (the big wheel, not the small side wheels that aim the mirror).
Reflect the beam: 1) waterfall cave → mirror behind the cave, 2) mirror on the scaffold at the side of the area, 3) mirror on the platform in the middle, 4) boost Faro up that platform (enemies appear — defeating them gives 1 Resonance Point). Faro shines the light to the right of the puzzle door; stand on the floor plate and use the sphere on the round green metal piece to reveal a hidden blue icon — Sophia scribbles it in her journal.
For the door: walk to the stelae in the light and use the sphere to reveal the 6 symbols, then use the 3 pedestals to move the red/green/blue crystals on the door into the matching position. Stand in the light at the door to shine the coloured lights at the gems.
Chapter XI — Patera
Sub-Chapter 1 — Light Beam Puzzle
After sliding down the cave, you reach a round room with a beam of light shining down the middle. Use the rightmost lever, then let go — Faro holds it. Pull the left lever back to melt away the dust with the light.
Sub-Chapter 2 — Petrified Crank Puzzle
After the elevator ride, at the end of the path is a pushable weight that rotates the cover (if it doesn't spawn, restart the sub-chapter). Push it forward until you reach the lever, creating a cover from the light, then pull the lever to rotate the light forward to the 2nd crank. Use the crank at the start of the area and rotate it fully clockwise — the light disappears and you can walk through the end of the path.
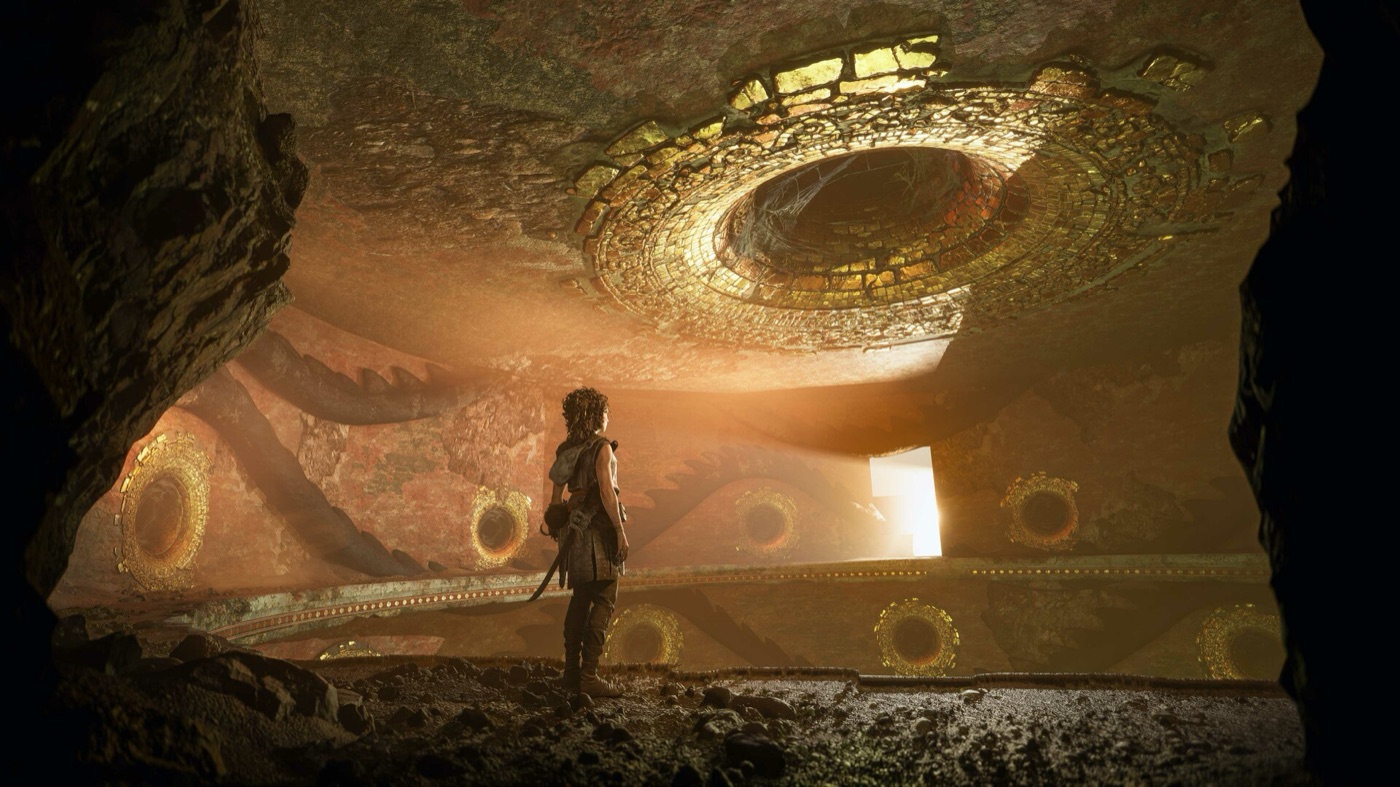
Mirrors, beams and coloured gems — the island's puzzles all come back to light.
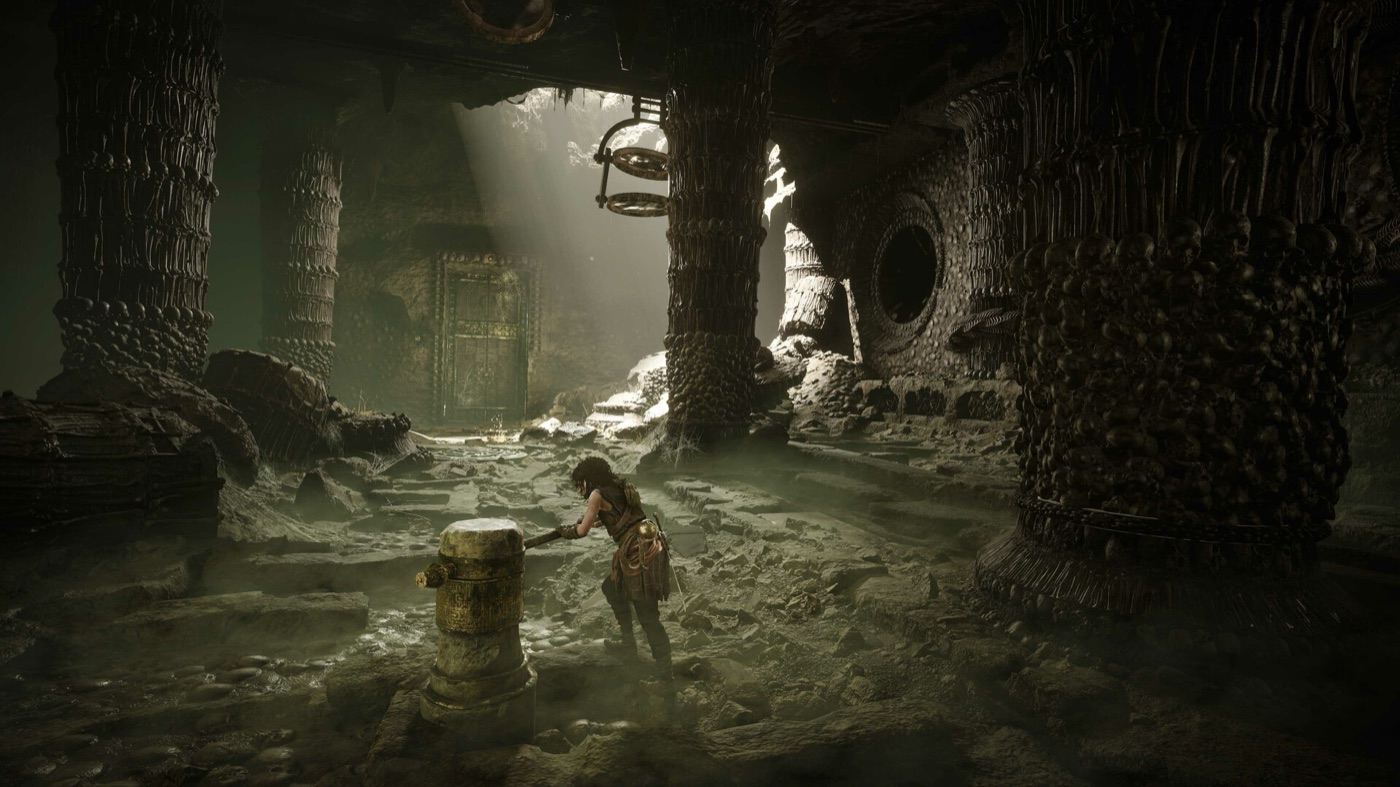
Every puzzle in the game follows the same rule: follow the light.
Stuck on a puzzle? Shine the sphere at walls, floors and doors. Blue glowing lines and highlighted icons show exactly what to interact with — every puzzle in this list was solved by following those hints first.